Your cart
There are no more items in your cart


Stock status: Ask for availability
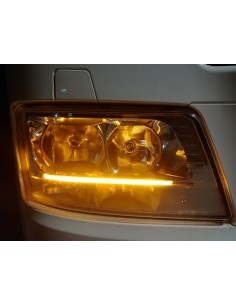
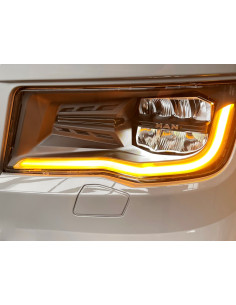
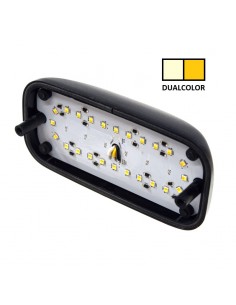
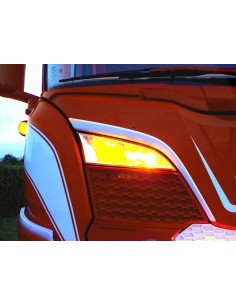
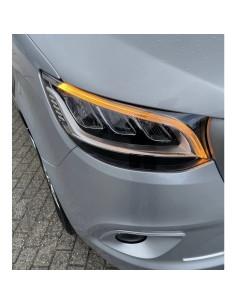
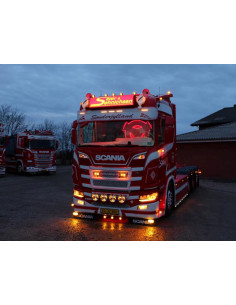
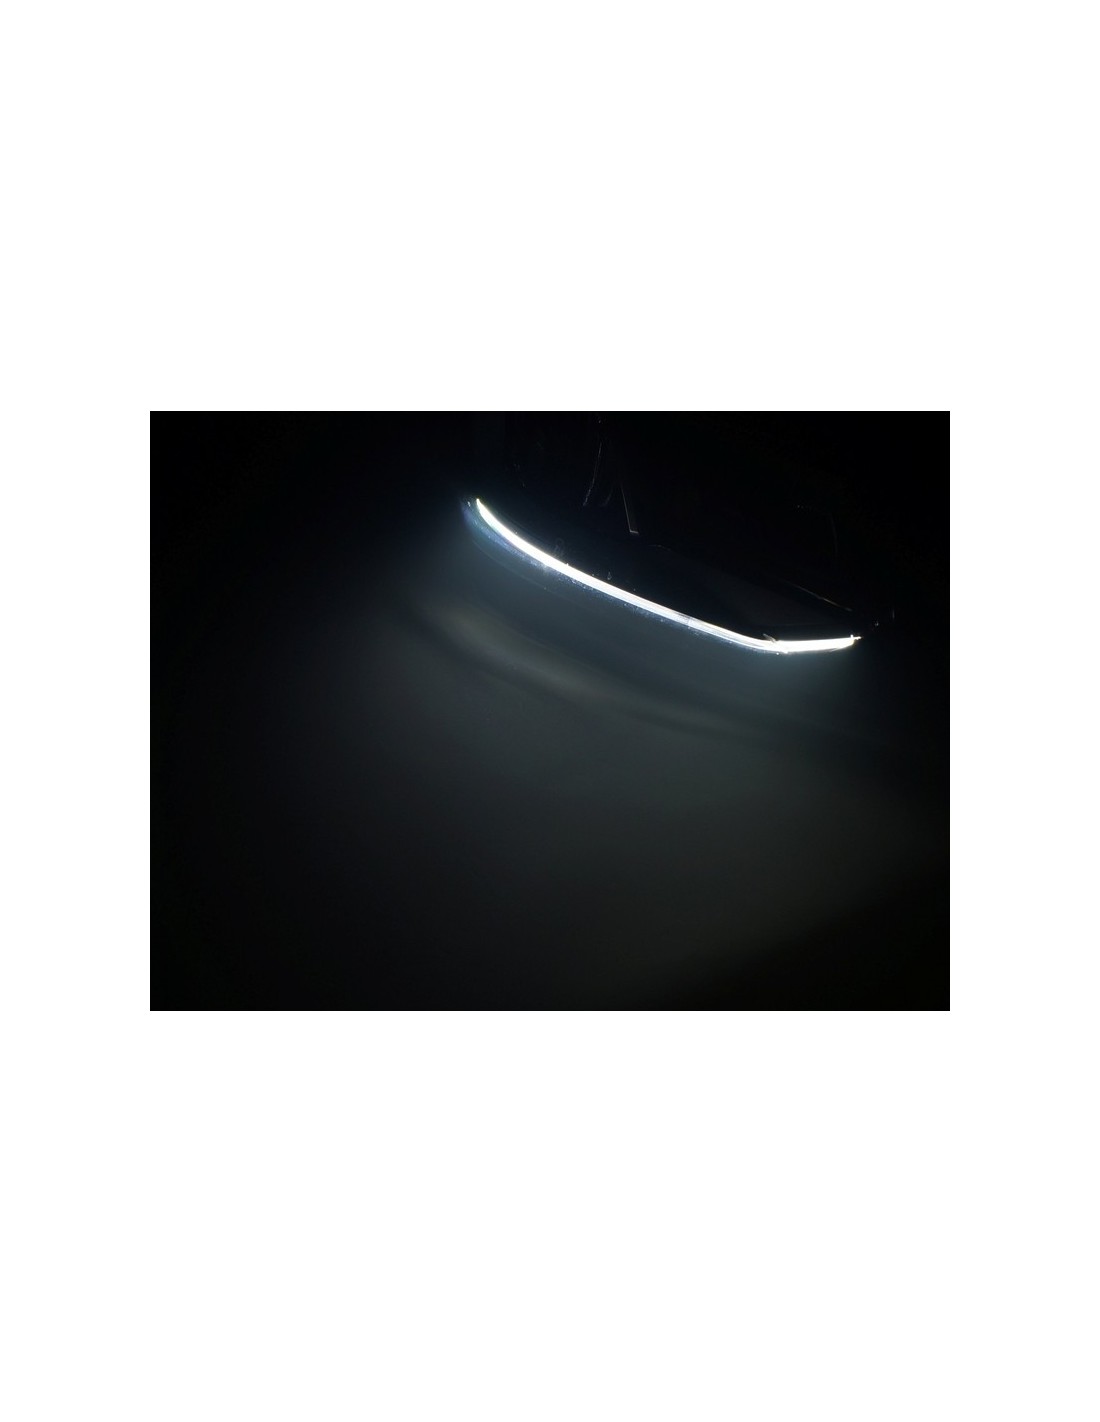
SCANIA Nextgen S+R DRL dual color module + yellow strobe
Number of customers interested in this product: 3
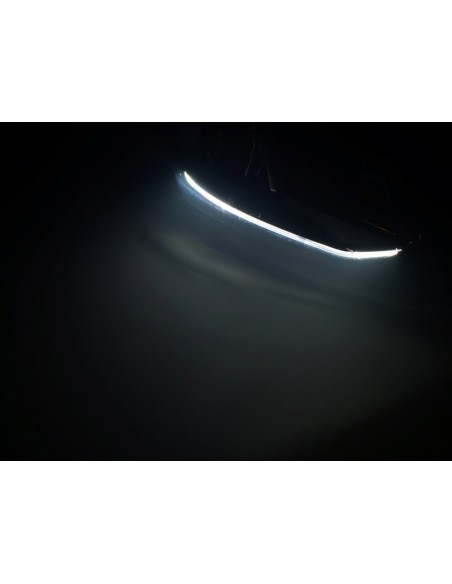
A set of modules for SCANIA NEXTGEN 2016+ daytime running lights, complete with a controller enabling the modules to be used as:
- white daytime running light
- yellow daytime running light
- yellow stroboscope
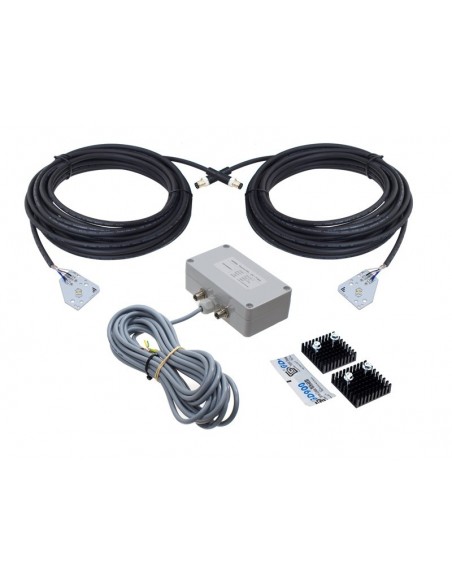
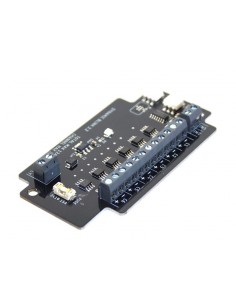
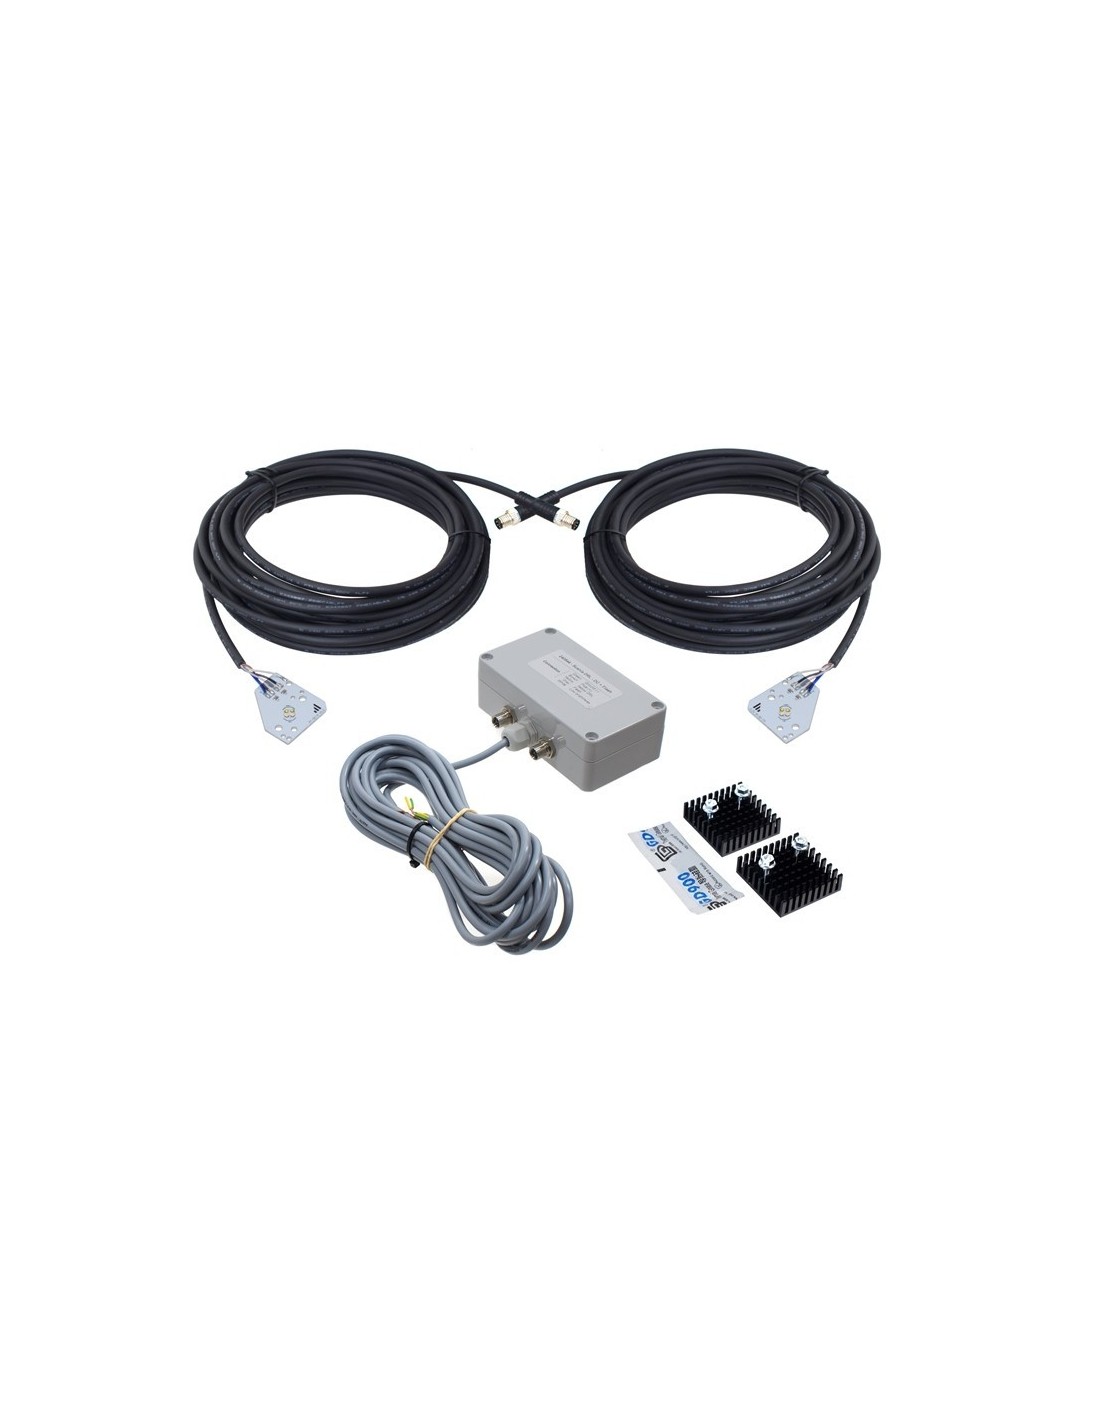
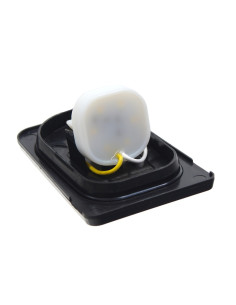
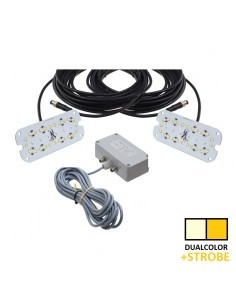
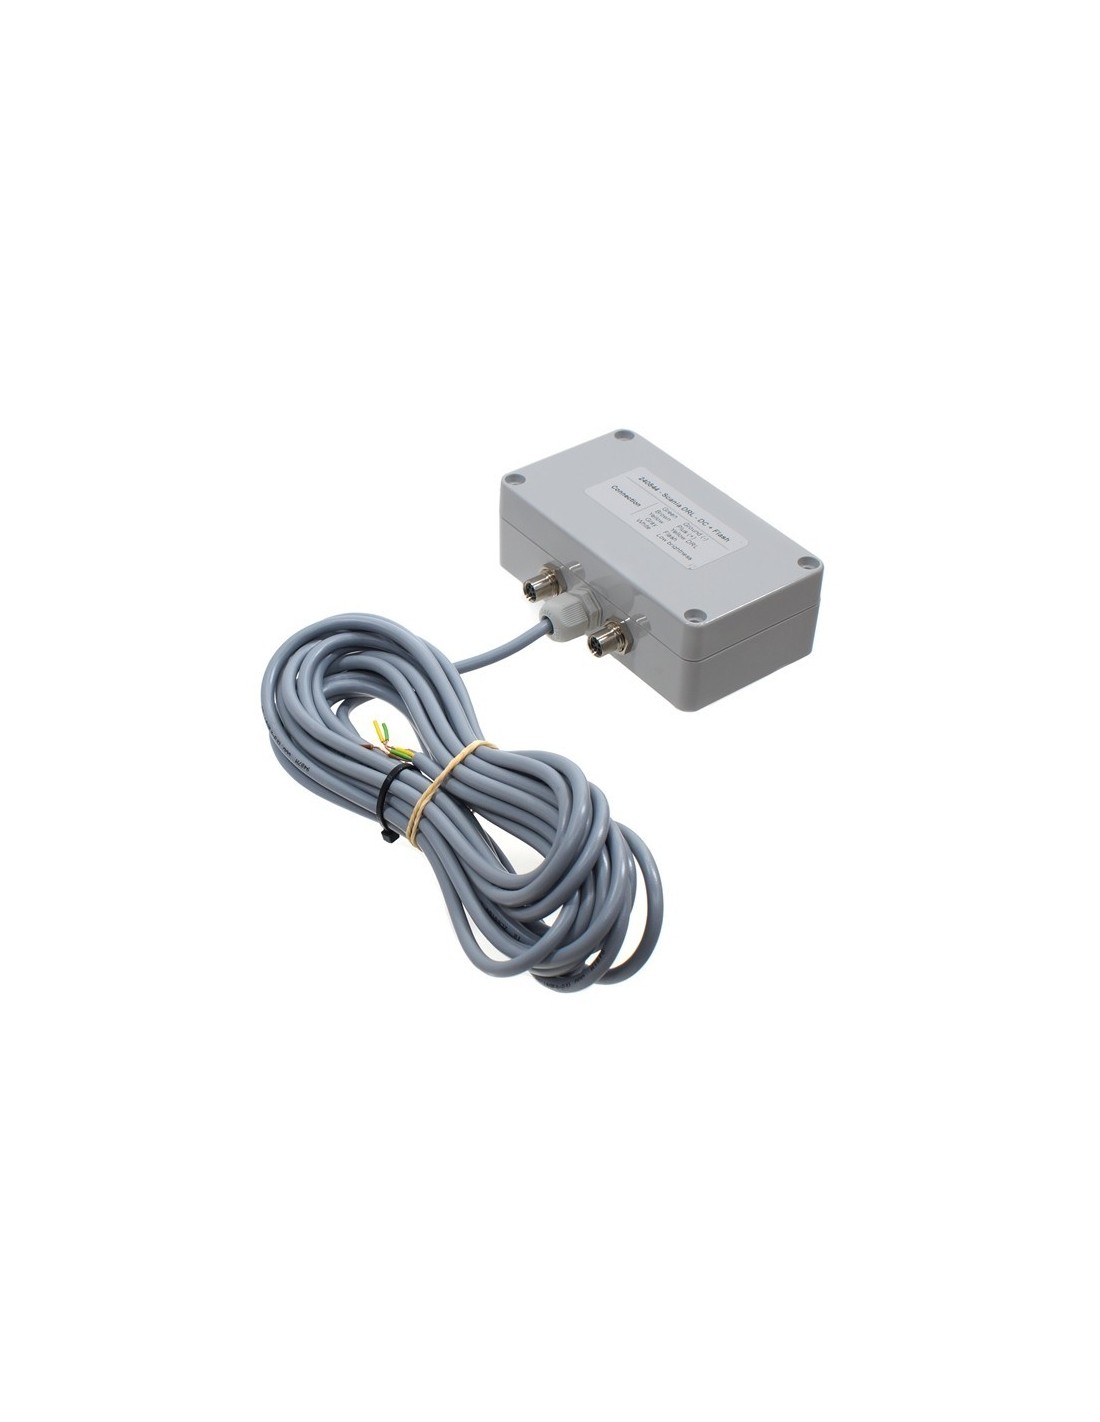
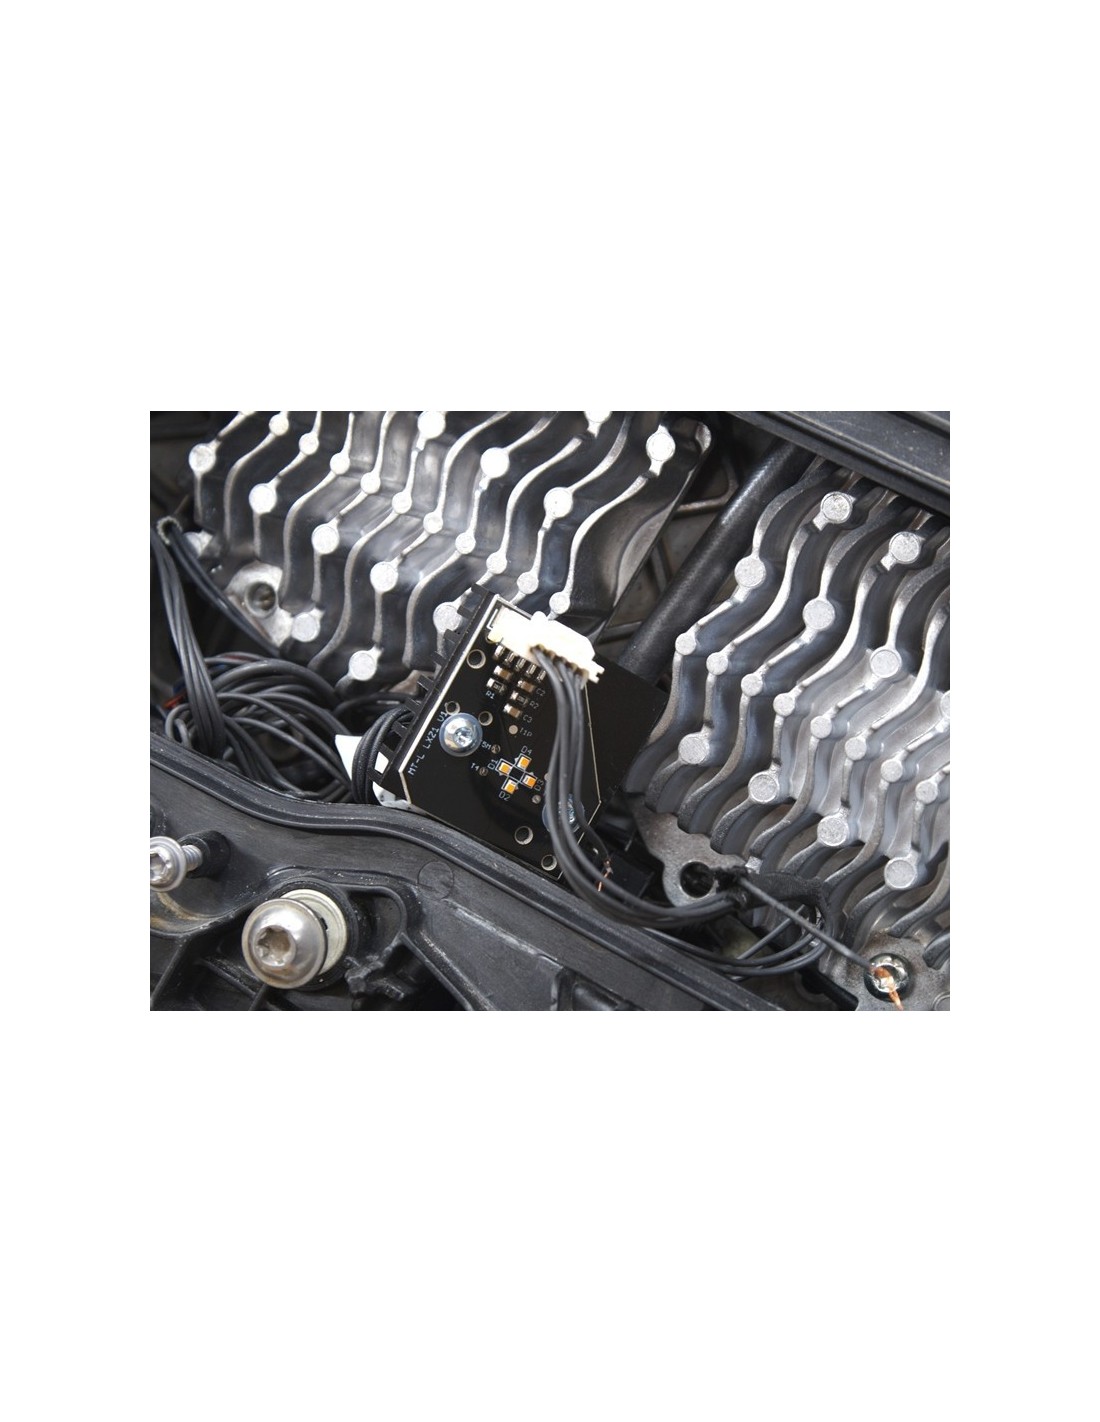
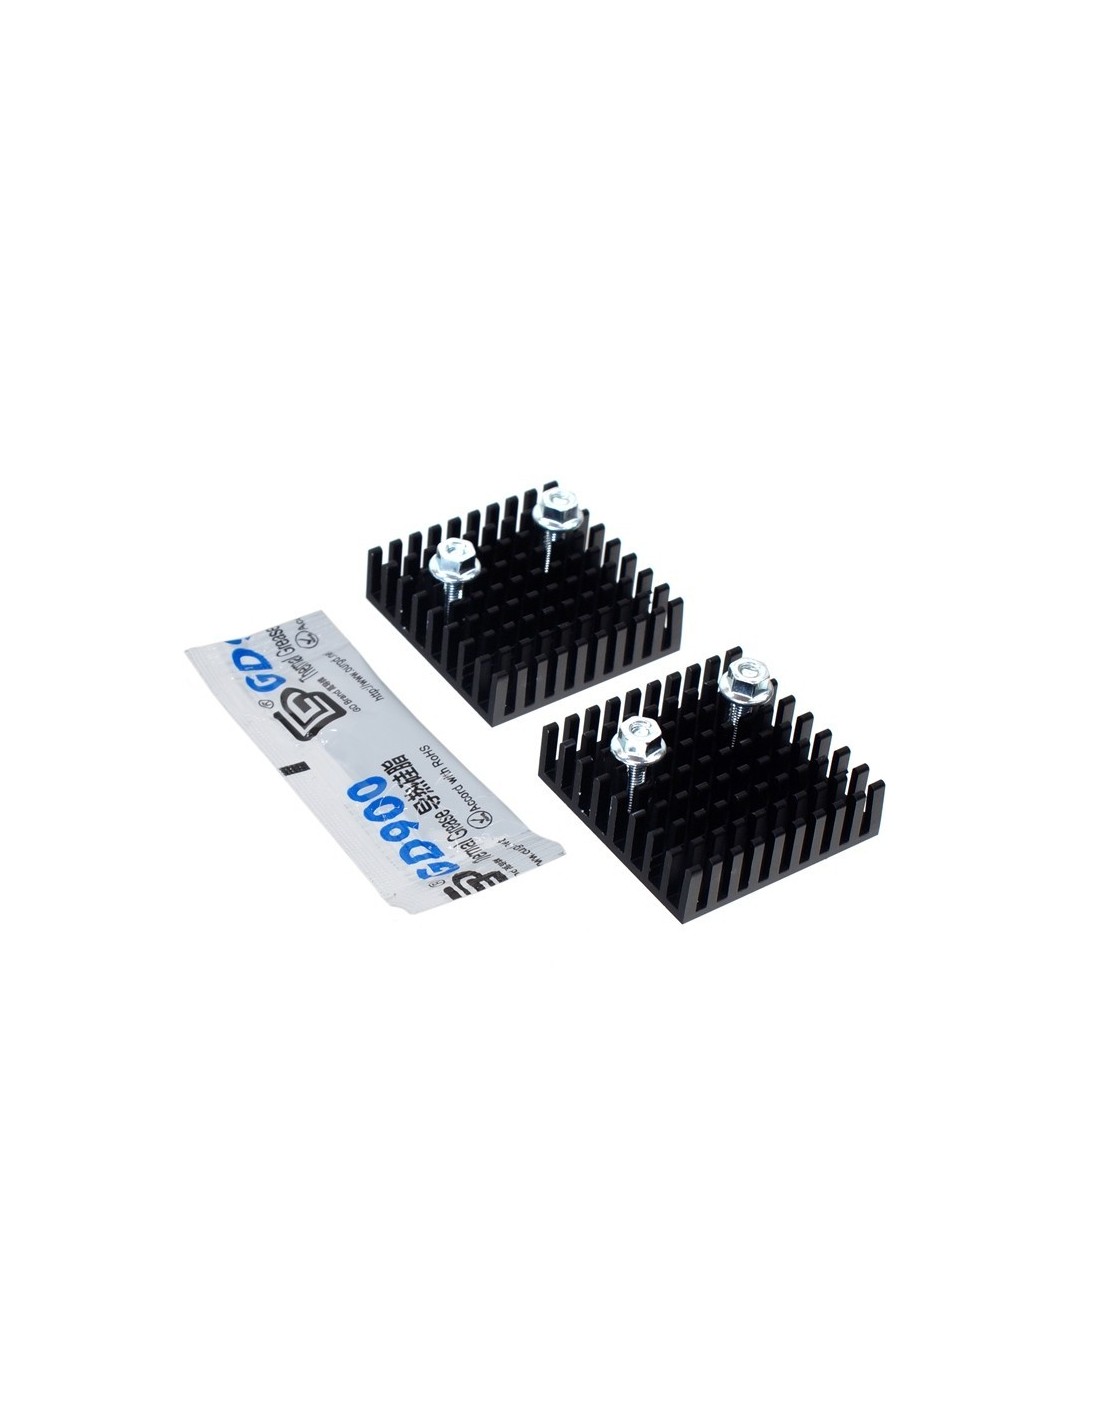
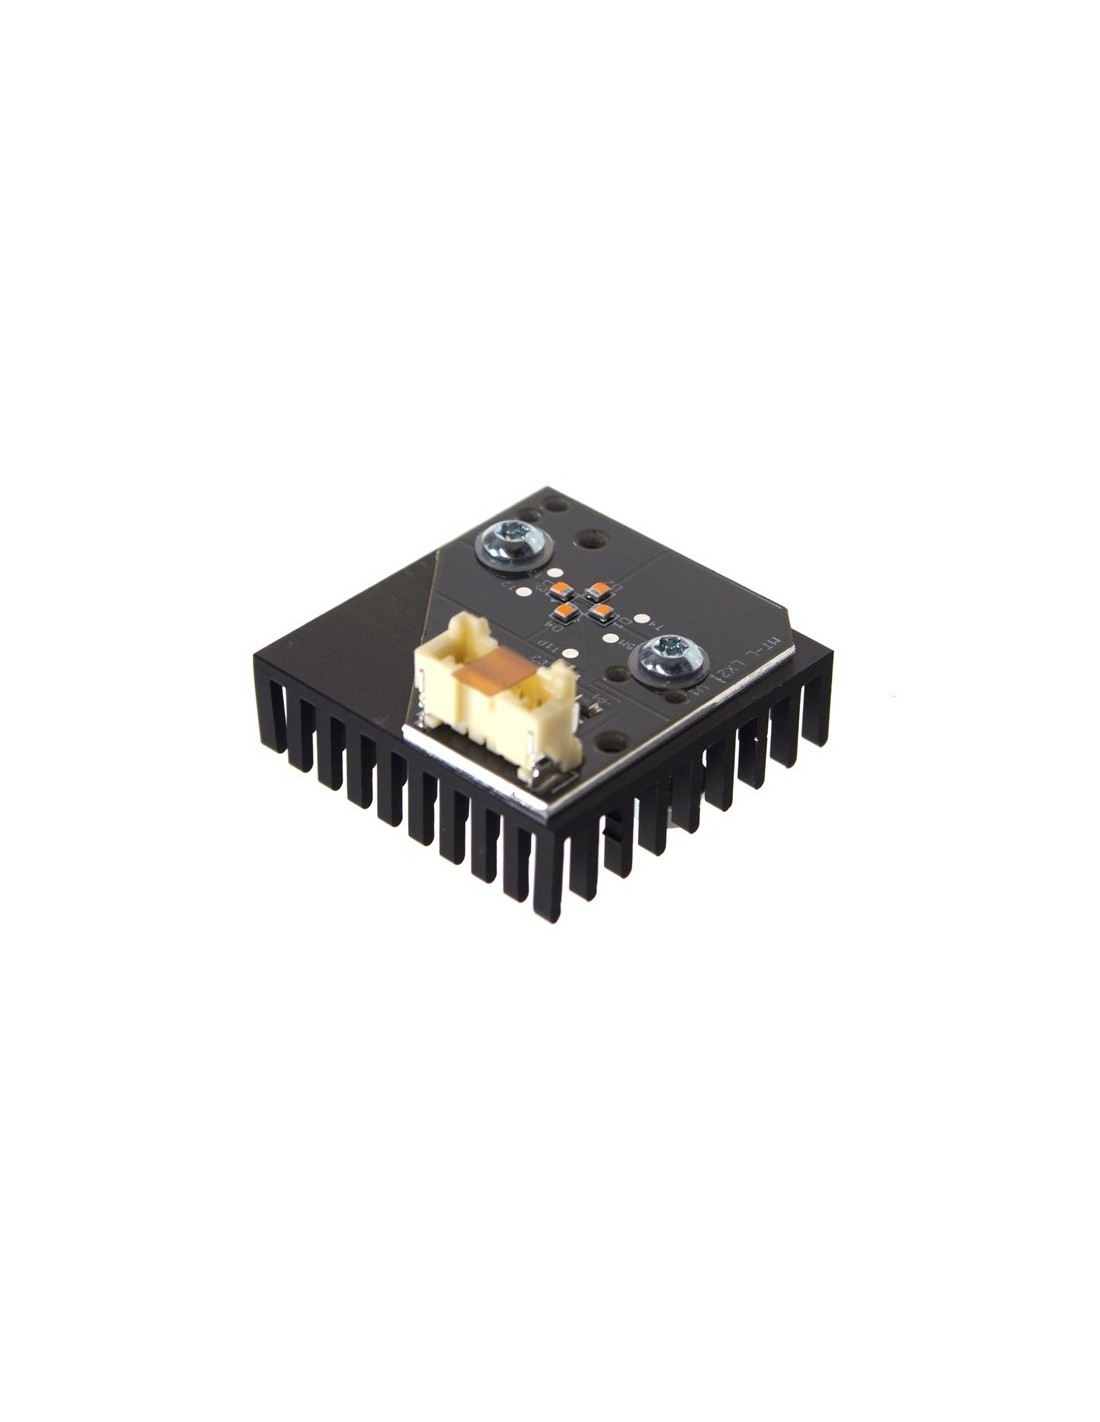
Parts included
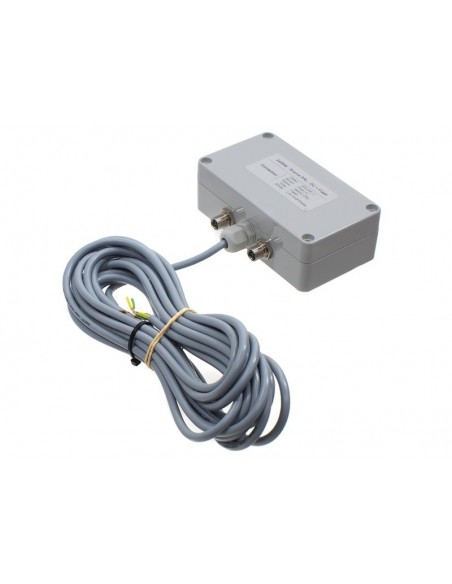
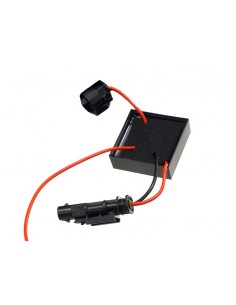
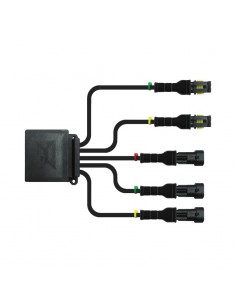
- Dual color DRL + flash controller
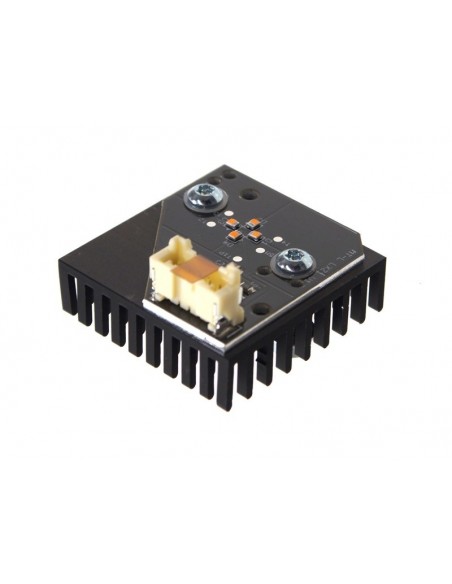
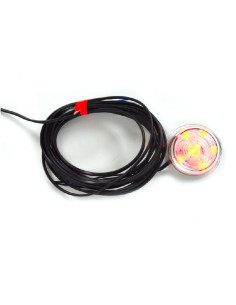
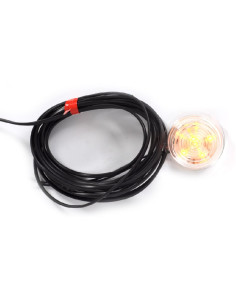
- 2 emitters, left/right
- 2 x heatsinks for original emitters
- Bolts, nuts and washers for assembly
- Thermal paste
Installation
Will dismantle the original emitters. First of all, the truck must be coded by Scania so that the DRLs operate at low brightness at all times. If this is not done, you risk burning out your original LED boards over time.
You will need to look at "Daytime Running Light Settings" in SPD3 where you will need to select "Without: No Daytime Running Lights". An alternative is to use a dummy emitter, but this is still in development.
Remove the original DRL emitters from the heat sink in the headlights. Place the original emitters on the included heat sinks using the included screws and nuts. Remember about thermal paste between the emitter and the heat sink!
Move the connector and cable to the center of the reflector (behind the large plastic cover). Reconnect the original emitter. Position the emitter so that it doesn't shine too brightly in the spotlight and the LEDs don't touch anything. Secure the emitter with cable ties.
Install the two-color emitters onto the original heat sink. Remember about thermal paste. Cut the cable to a suitable location and route it through a cable gland or similar to the outside of the lamp. This can be done through the large plastic cover, e.g. Connect the appropriate wires back to the inside of the lamp.
Connection
Connect the M8 connector to the controller.
If necessary, supply power and signals to the controller:
Gray: ground (-)
White: Plus (+)
Black: Yellow DRL
Brown: Flash
Blue: low brightness
Individual additional functions are obtained by shorting the appropriate wire to the PLUS (+) wire.


